![Copy of STATIC 1.png]](https://help.aptimyz.com/hs-fs/hubfs/Copy%20of%20STATIC%201.png?height=50&name=Copy%20of%20STATIC%201.png)
-
- This article is a redirect from Ecommerce - Shopify Setup
- This article is a redirect from Ecommerce - Shopify Setup
IMPORTANT NOTE
Shopify can only accept products with 3 attributes. Aptimyz products can have up to 5 attributes, so care must be taken if you have used more than 3 attributes.
Attributes : Examples include : Color, Size, Length, Chest, Waist, Width, etc
Variants / Variations : Examples include : 1-3months, Small or Medium or Large, 1 gallon or 4 gallons, 8 or 10 or 12, etc
Instructions to link to Shopify
- Login to Aptimyz Back Office with your Aptimyz email address and password
- From the menu, select Marketplace
- Select Ecommerce
- Select the Connect button against Shopify

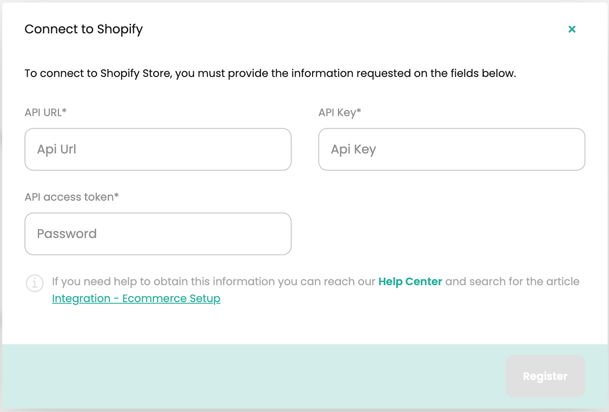
5. The details for the following screen can be found in your Shopify system
6. On a separate browser, please log into Shopify with your Shopify Admin login and password
7. Please add support@aptimyz.com to your Shopify admin users. You will need this email address when Shopify asks for the Developer's email address, during the app creation exercise detailed below.
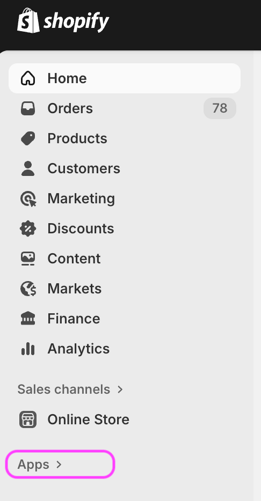
8. Select Apps from the Shopify menu
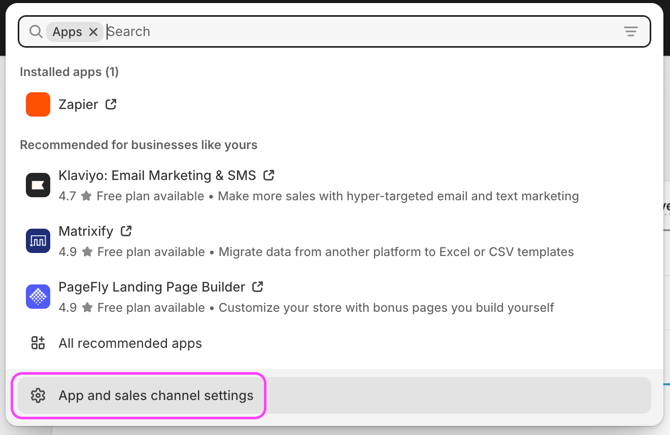
9. Select Apps and Sales Channel Settings
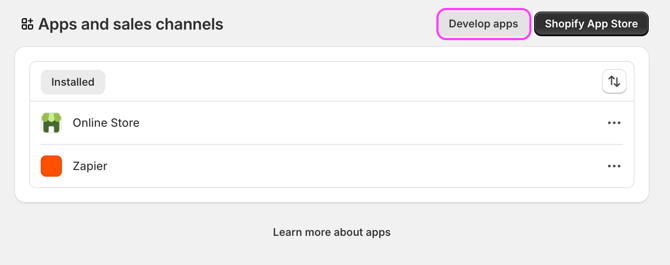
10. Select Develop apps for your store:
11. If you have not previously created an Aptimyz app - please follow the instructions below, otherwise, jump to number 17 below
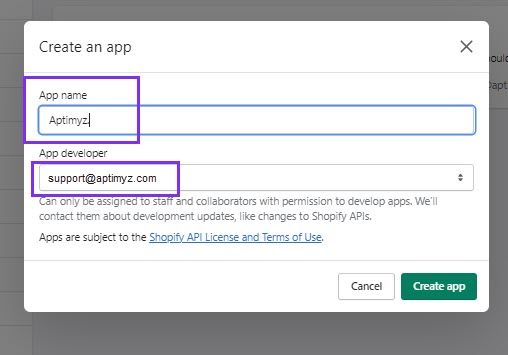
a) Click on "Create an app''
b) In the "App name" box, type in "Aptimyz"
c) In the "App developer" box, type in "support@aptimyz.com"
d) Click on "Create app"
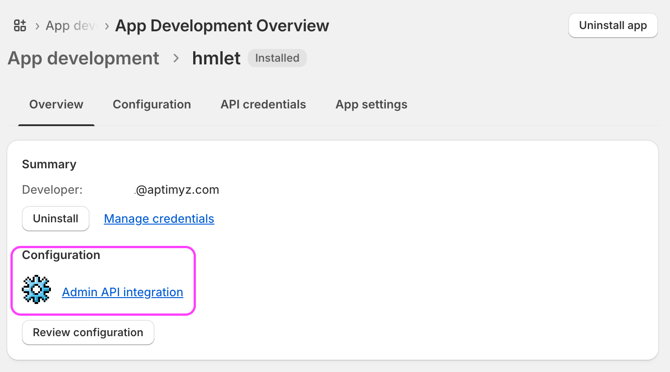
e) Click on "Overview"
f) Select "Admin API Integration"
g) In the Configuration > Admin API Integration, please go through the list and select the tick boxes you require (the below screenshots are for demo purposes and will not be the same for every business due to requirements)


h) Select "Create app"

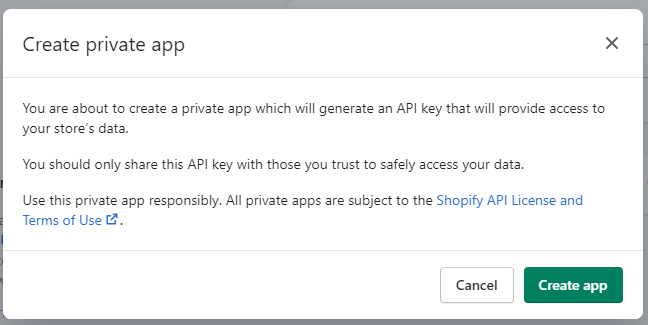
i) If all is successful you will see the "Private app created successfully" message above.
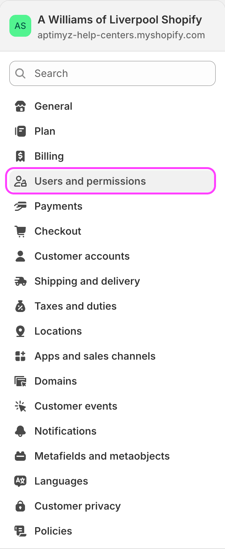
12. From Shopify > Users and Permissions
13. Select 'Add Staff' if you are working with a developer, add their details here

14. From Apps and Sales Channels > Develop apps > select your store > API credentials >cop the access token
15. Now return to the Aptimyz Back Office page and, if necessary, return to Marketplace / Ecommerce. Then click Connect against the Shopify line.
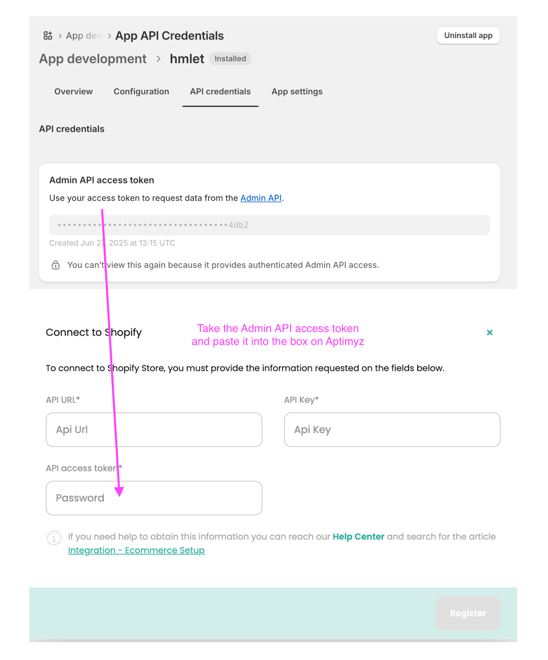
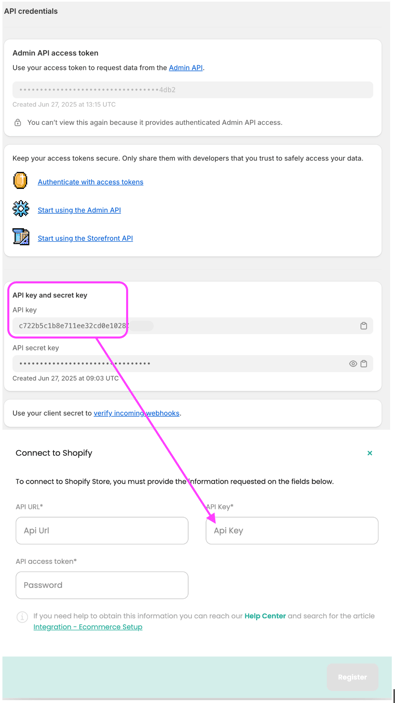
16. Copy and paste the API key into the API Key field on Aptimyz
17. From Shopify > Online Store > View your Store


19. When the setup is complete, you can now sync your existing website with Aptimyz.
If you have products in Aptimyz Inventory that have the Ecommerce flag set to yes - these will automatically be loaded into Shopify draft products
If you have Shopify products live on the Shopify website - these will now be synced with Aptimyz and will create an Inventory Import table for editing and adding to the inventory file

20. Press Sync and the synchronisation routine will begin
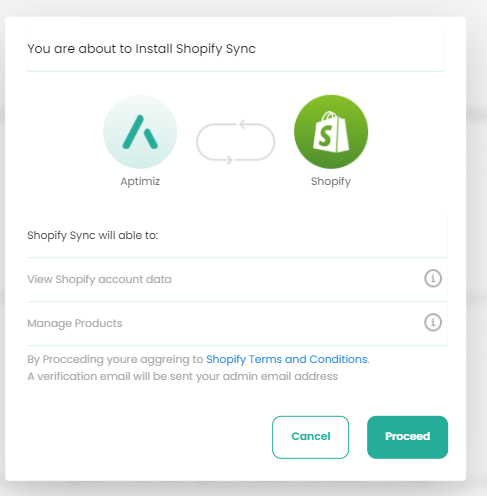
21. Press Proceed and the systems will begin the integration process

22. Select the Store(s) that will add their stock quantities online and the store(s) that will receive Online orders.
a) Put Stock Online - this registers which stores stock quantities you wish to add to the online store
b) Receive Online Orders - this registers which of your stores receives the primary online order notification
23. Continue and Confirm the store selection
24. The system will display the number of products to be synchronized, please press continue.
25. There will be a counter showing at the bottom of the screen as the products are transferred.
Synchronising your Inventory files
- See Ecommerce Inventory Synchronisation for the next step