
This article will provide steps on how to synchronize your inventory from Aptimyz to Shopify V1
IMPORTANT NOTE
Shopify can only accept products with 3 attributes. Aptimyz products can have up to 5 attributes, so care must be taken if you have used more than 3 attributes.
Attributes : Examples include : Color, Size, Length, Chest, Waist, Width, etcVariants / Variations : Examples include : 1-3months, Small or Medium or Large, 1 gallon or 4 gallons, 8 or 10 or 12, etc
Different Shopify Versions
For Shopify V1 users - please see belowFor Shopify V2 users - please click here
- Login to Aptimyz Back Office with your Aptimyz email address and password
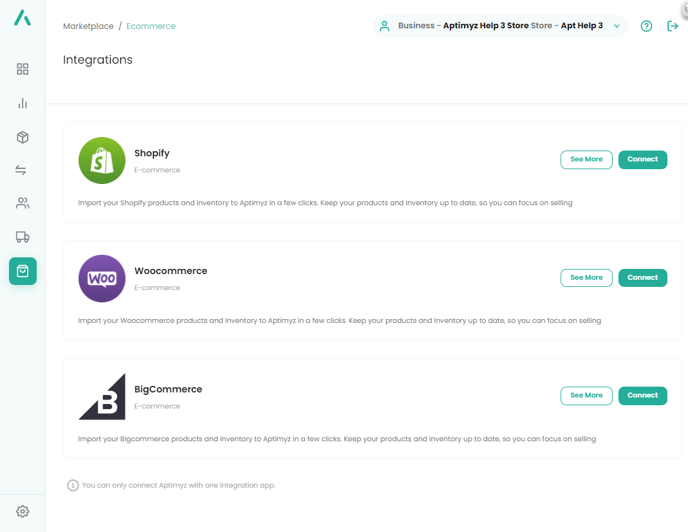
- From the menu, select Marketplace
- Select Ecommerce
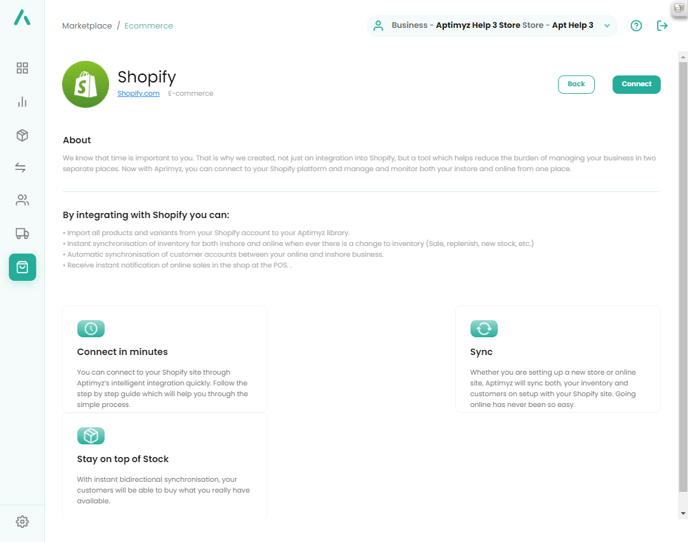
- Select the Connect button against Shopify
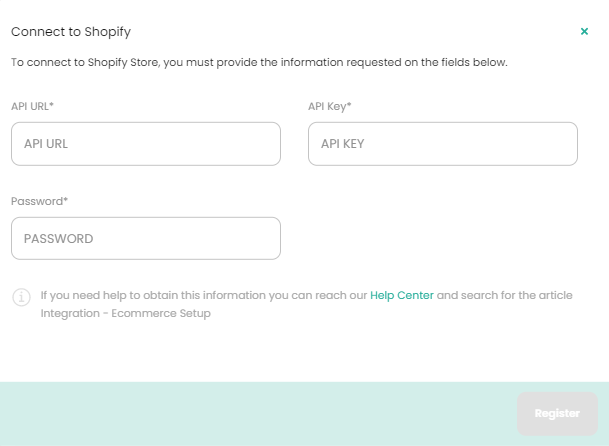
5. The details for the following screen can be found in your Shopify system
7. Please add support@aptimyz.com to your Shopify admin users. You will need this email address when Shopify asks for the Developer's email address, during the app creation exercise detailed below.
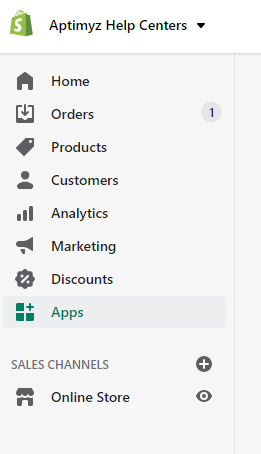
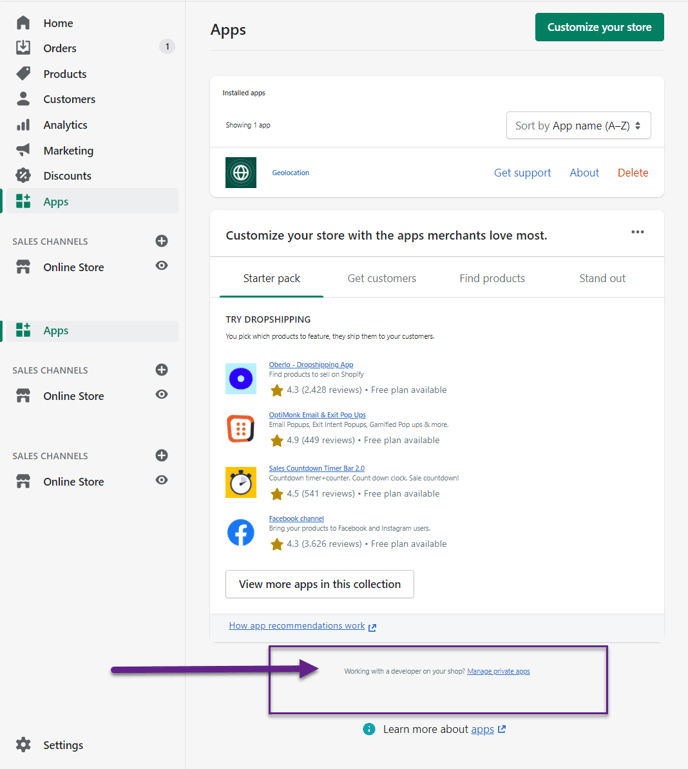
8. Select Apps from the Shopify menu
9. Select App and Sales Channel Settings
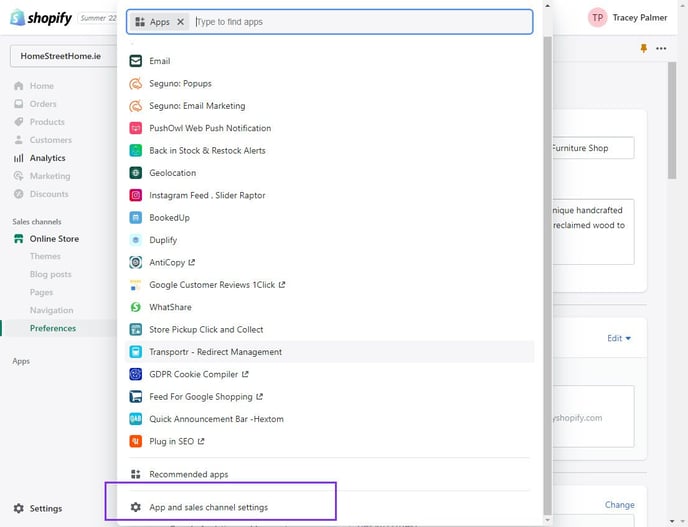
10. Using the link at the bottom of the page: please click on - Manage private apps:

11. If you have not previously created an Aptimyz app - please follow the instructions below, otherwise, go straight to item 10 below.
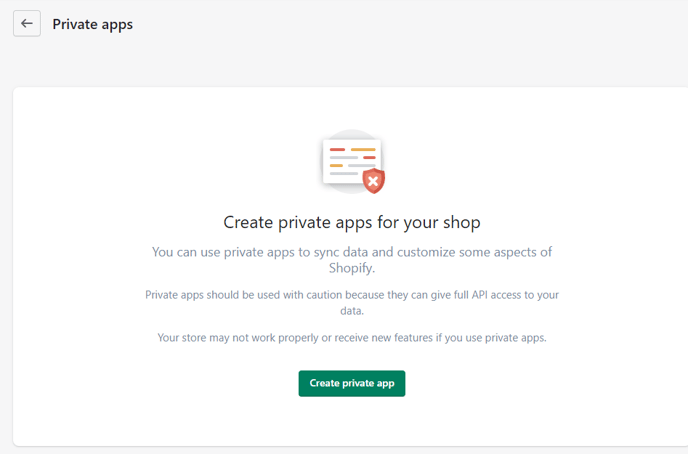
a) Click on "Create Private App"
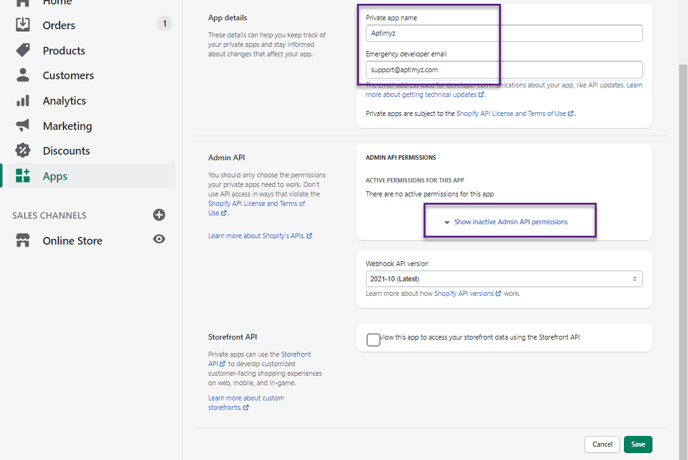
b) i. In the "Private app name" box, type in "Aptimyz"
c) ii. In the "Emergency developer email" box, type in "support@aptimyz.com"
d) Click on "Show inactive Admin API permissions"
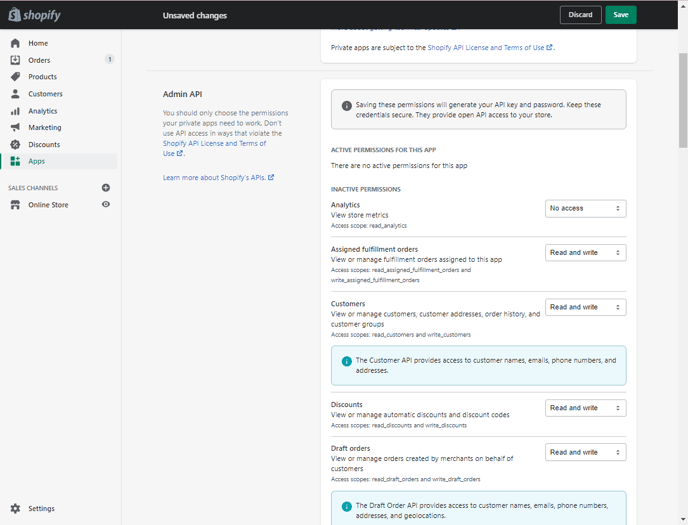
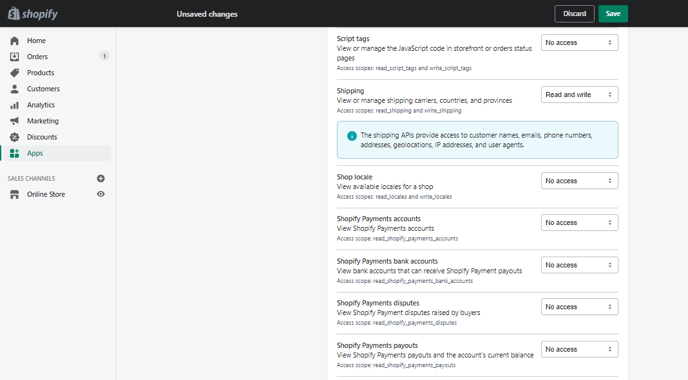
e) In the permissions list, please change all the settings marked below to "Read and write" or "Read" where no "Read and write" is available, as marked.
f) Complete as follows:Analytics - No access
Assigned fulfilment orders - Read and write
Customers - Read and write
Discounts - Read and write
Draft orders - Read and write
g) Complete as follows:
-
-
- Files - No access
- Fulfilment services - Read and write
- GDPR data requests - No access
- Gift cards - Read and write
- Inventory - Read and write
- Legal policies - No access
- Locations - Read
- Marketing events - No access
- Merchant-managed fulfilment orders - Read and write

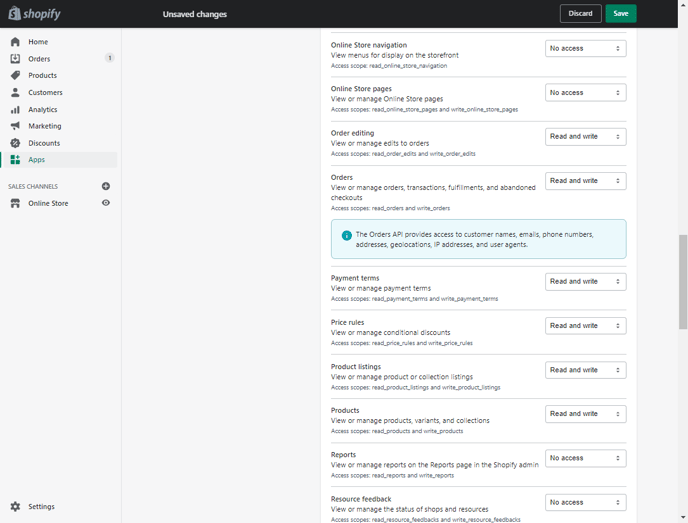
- Online Store navigation - No access
- Online Store pages - No access
- Order editing - Read and write
- Orders - Read and write
- Payment terms - Read and write
- Price rules - Read and write
- Product listings - Read and write
- Products - Read and write
- Reports - No access
- Resource feedback - No access
-
i) Complete as follows:
• Script tags - No access• Shipping - Read and write
• Shop locale - No access
• Shopify Payments accounts - No access
• Shopify Payments bank accounts - No access
• Shopify Payments disputes - No access
• Shopify Payments payouts - No access
j) Complete as follows:
• Store content - No access
• Themes - No access
• Third-party fulfilment orders - Read and write
• Translations - No access
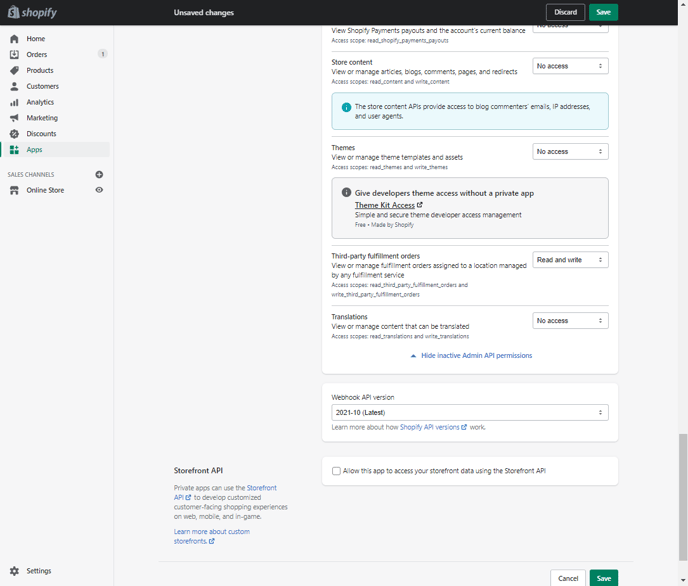
k) Select "Save" at the top of the page
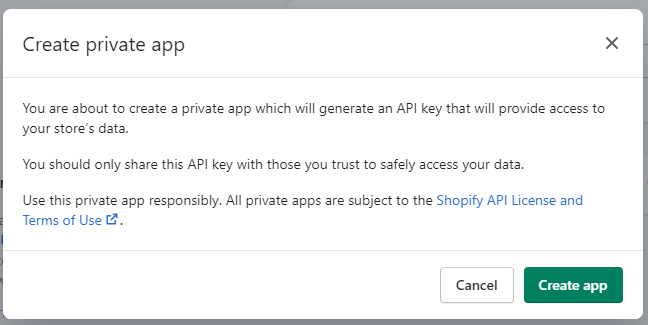
l) Select "Create app"
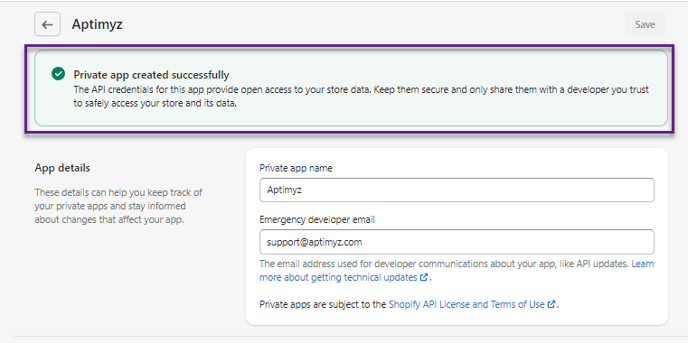
m) If all is successful you will see the "Private app created successfully" message above.
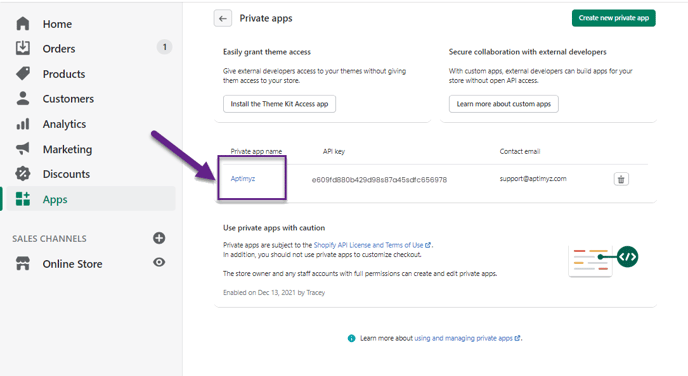
12. From Shopify > Apps page click "Managing private apps"
13. From the Private Apps page, click on Aptimyz
14. Keep the screen open and Show the password.
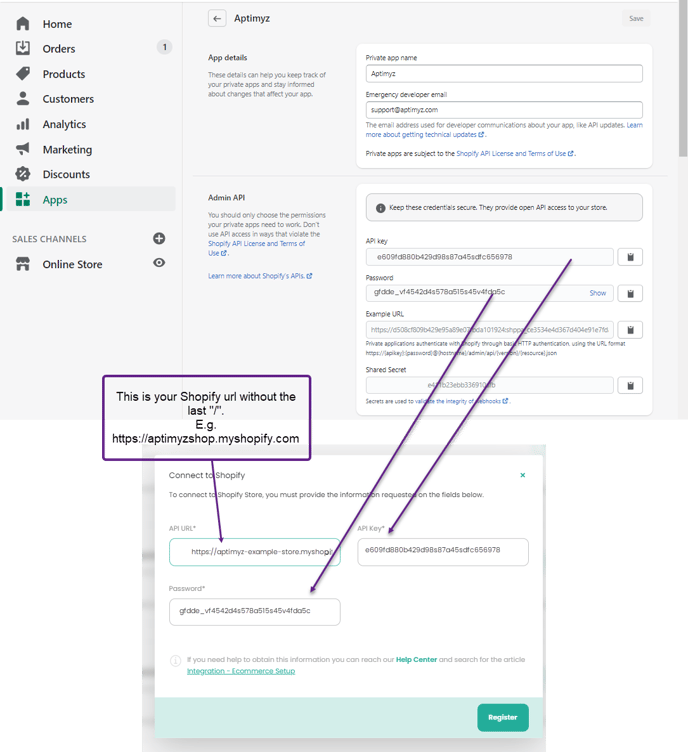
15. Now return to the Aptimyz Back Office page and, if necessary, return to Marketplace / Ecommerce. Then click Connect against the Shopify line.
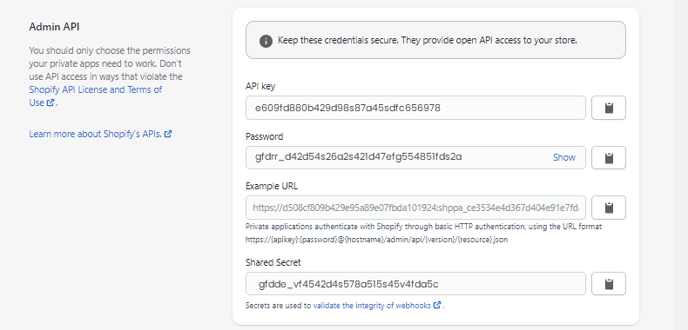
16. Using the details from the Shopify Apps page, cut and paste the API Url*, the API Key* and the Password*
17. When the setup is complete, you can now sync your existing website with Aptimyz.
If you have products in Aptimyz Inventory that have the Ecommerce flag set to yes - these will automatically be loaded into Shopify draft products
18. Press Sync and the synchronisation routine will begin

19. Press Proceed and the systems will begin the integration process
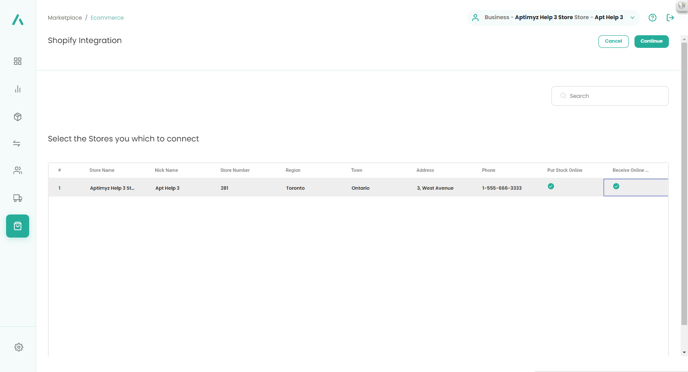
20. Select the Store(s) that will add their stock quantities online and the store(s) that will receive Online orders.
a) Put Stock Online - this registers which stores stock quantities you wish to add to the online store
21. The system will display the number of products to be synchronized, please press continue.
22. There will be a counter showing at the bottom of the screen as the products are transferred.
Synchronising your Inventory files
- See Ecommerce Inventory Synchronisation for the next step