Stock Check Back Office
This article will explain how to carry out a stock check using the Aptimyz back office
Notes and Hints
For the physical stock take, please see file Stock Check using a Mobile Device
Following the successful input of the stock check figures please follow the instructions below to review, amend (if necessary) and then finalise the stock check and valuation for the business.
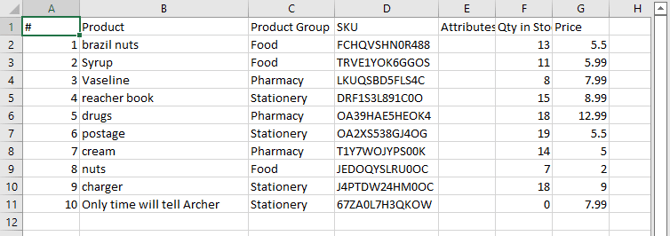
To check on the status of your stock check at any point - Export the Items list for each of the items tabs.
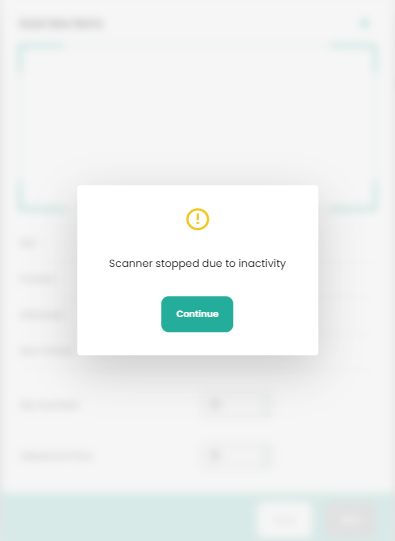
After 30 seconds, your scanner will stop, to conserve battery life, click "Continue" to restart the scanner.
Create Stock Check
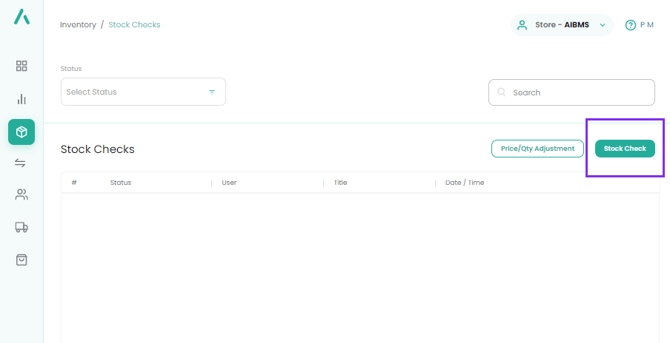
- On a web browser login to Aptimyz Back Office
- Go to Inventory
- Go to Stock Checks
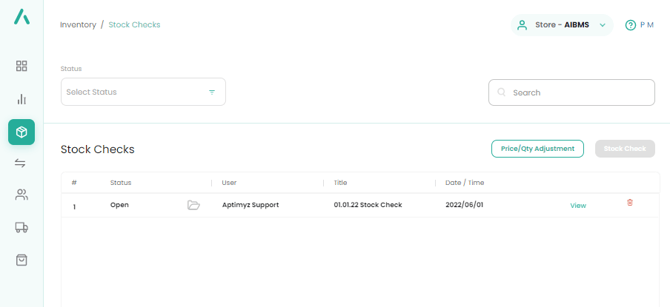
- Click on Stock Check
5. Type in a suitable Stock Check Title
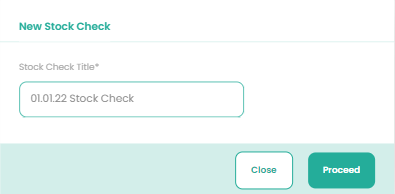
6. Click Proceed
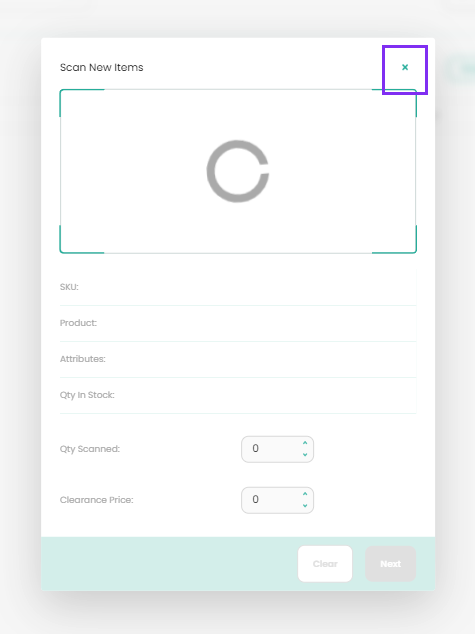
7. Once the scanner app has started - click on the small x and your stock check can now begin via your mobile devices' cameras
Edit Stock Check
- On a web browser login to Aptimyz Back Office
- Go to Inventory
- Go to Stock Checks
- View the applicable Stock Check
- Ensure the Stock Check has the status of "Open"
- Select the Items tab
- Following any necessary amendments (see below how to action amendments), Select Save
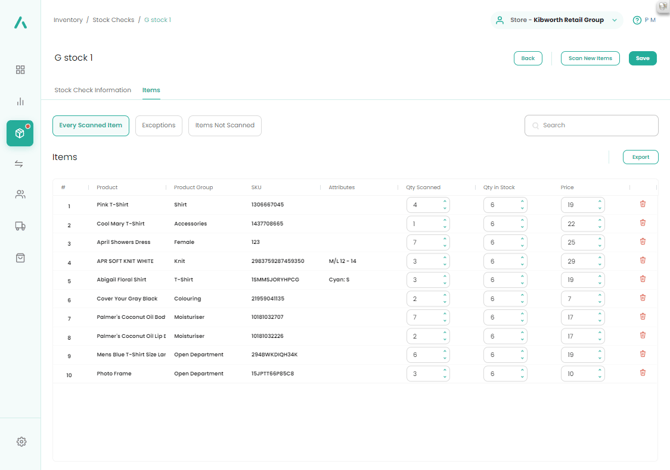
Every Scanned Item
This page displays a list of all the items scanned in the stock take
If any of the quantities in the Qty Scanned column are incorrect, please amend directly on this screen.
Following any amendments, please press Save
Exceptions
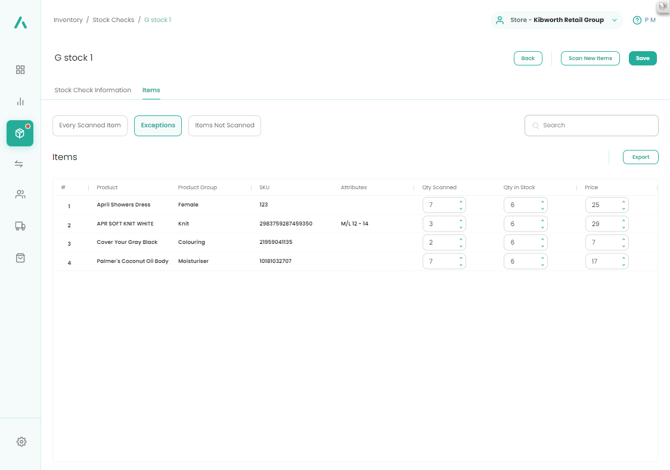
This displays any differences between the stock count and the system held quantity in stock.
Please review these quantities and amend if necessary
Items not scanned
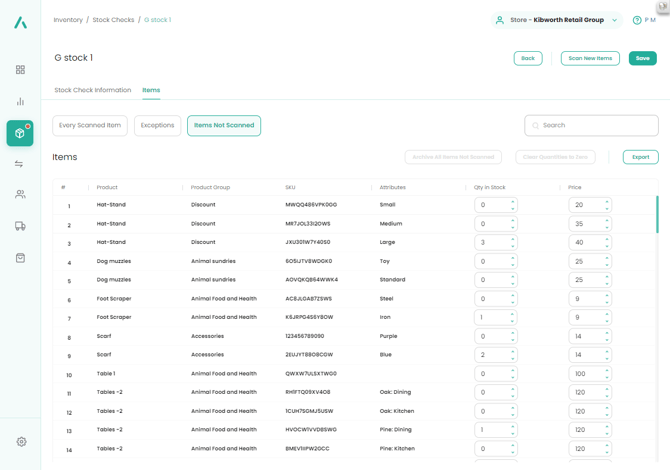
This displays any item in the stock file that was not counted or was missed in the count.
In the event of a full stock take – figures on this screen may represent previous errors in coding or missed/misread barcodes during the sales processes
For perpetual stock systems, ignore the stock items on this page as there will always be a long list of “non-counted” stock.
Finalising the Stock Check
- When all amendments and checks have been made, select Save
- View the Stock Check and, using the drop down selection in Status - select Closed and Save
- The Stock Check can then be further reviewed. In the Closed Status, no scans can take place.
- Using the Export button on each page, a detailed review can be done of the stock check.
- If further amendments to the stock quantities are necessary, change the status back to Open, make and save any changes, then set the Status back to Closed.
- These Status changes can happen as often as necessary, before the stock take is finally committed.
- Once the quantities are all correct, return to the Stock Check Information page and change the Status Finished
- Save the status and a warning will pop up on the screen
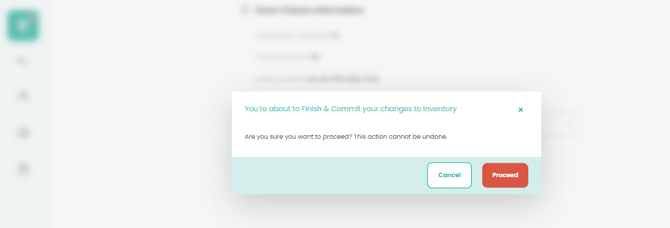
9. Proceed. This will change the status to Finished and will commit the Scanned Quantities to the Inventory file, overwriting the current Total Stock Quantity and amending the Quantity Available, if necessary
Clearing and Archiving
- In the event of a full stock check, the system can clear all the not scanned products and, if required, archive them.
-
From the Stock Check menu, select the correct stock check. It will now be marked as Finished
-
Select the tab Items
-
Select the page *Items Not Scanned"

-
Clear Quantities to Zero will reduce any stock showing in the Qty in Stock to zero
-
This action may take some time to complete if the number of products is excessive. Please either click on the Qty in Stock column, to assess when the file is empty, or Export the list to Excel.

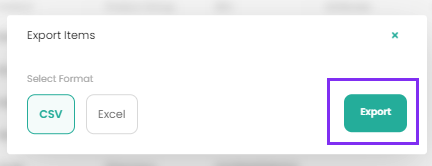
6. When the Qty in Stock column totals 0, the inventory file has been cleared
7. Archive All Items Not Scanned will remove the items from the standard inventory and place them in the Archived Inventory.
Stock Reports
A sample Stock Valuation Report can be found in the Report - Inventory page here
![Copy of STATIC 1.png]](https://help.aptimyz.com/hs-fs/hubfs/Copy%20of%20STATIC%201.png?height=50&name=Copy%20of%20STATIC%201.png)