![Copy of STATIC 1.png]](https://help.aptimyz.com/hs-fs/hubfs/Copy%20of%20STATIC%201.png?height=50&name=Copy%20of%20STATIC%201.png)
- Aptimyz contains a number of standard functions and views.
- This article is designed to help you understand these features all over the system.
Display page
Data Fields
Status Box
Search
Column Titles - extra functionality
Menu bar
-
Hover over the left hand bar and the options will appear

-
Move to the section you want and the individual selections will be highlighted

-
Click on the selected sub-section
Display page
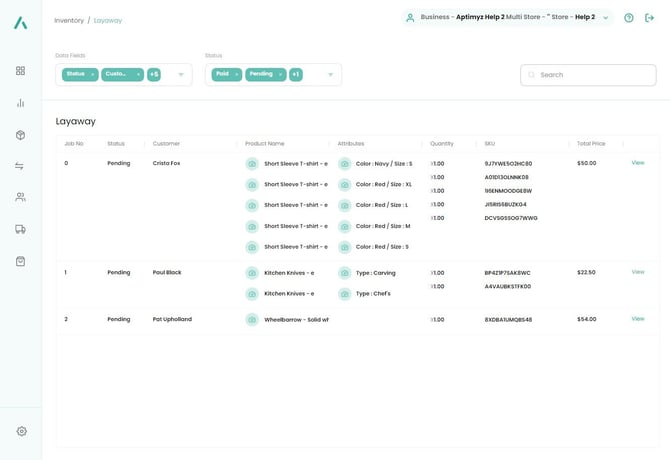
- The picture above shows the standard look and feel of an Aptimyz Display table page
- Using the functions listed below, this view can be manipulated to just show information required, in a different format.
Data Fields

- The Data Fields selection box gives the user the option to change the view of the display table they are viewing.
- Extra fields can be displayed by turning the display button on or off
Status Box
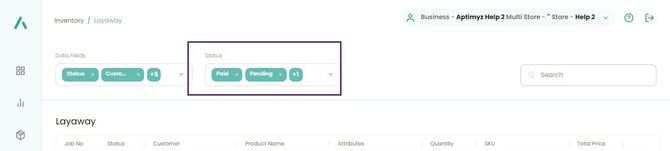
- On certain displays, a Status box may be shown
- The information shown in the default table can be organised and reduced by selecting a single status, e.g. on the layaway screen, by deselecting Paid and Cancelled, the user can see a list of just the Pending layaways.

Search

- Start typing your search term and the system will begin to reduce the results on the page

- The reduced table will be displayed

Column Titles functions
- Not all fields are included in the search function above.
- Using the functionality of the Titles Bar at the top of the display table will give the user more flexibility.
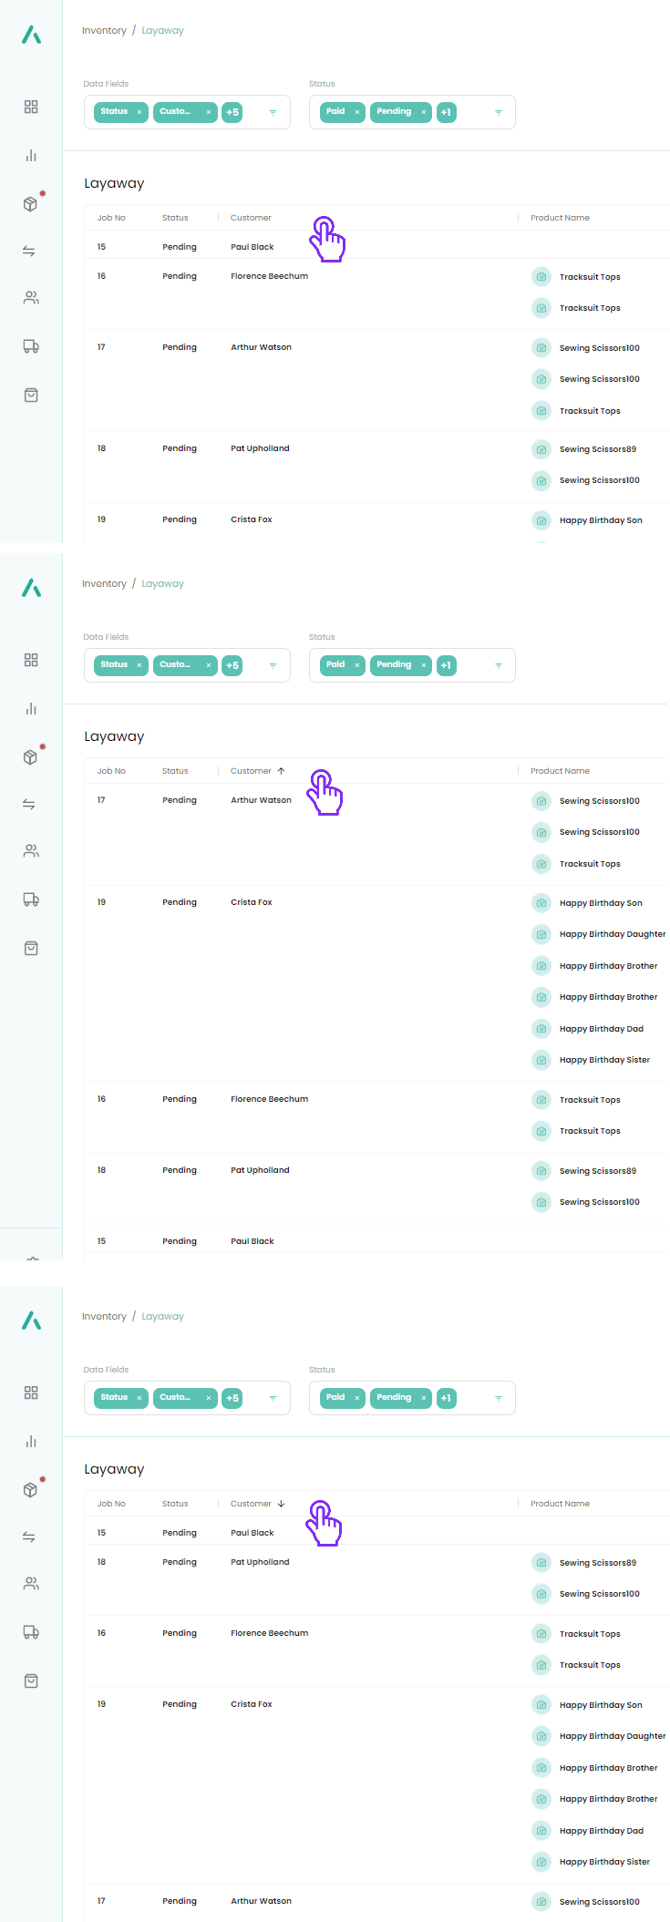
1 Reorder the column
a) To rearrange the order of the table, click on the column name
b) Click once to put them into alphabetical order
c) Click twice to put the column into reverse alphabetical order
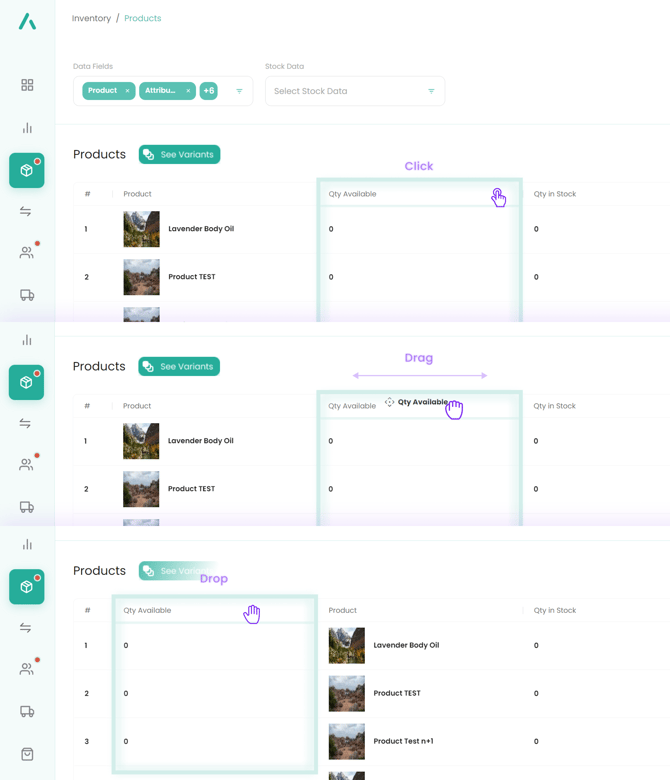
2. Moving columns
a) Click and hold the column name with your mouse.
b) Move your mouse across the page and the column will move with it.
c) Release the mouse and the column will stay in that position until the page view is changed, either by exiting the page or by adding or removing columns
3. Single column features
- By clicking the 3 bars, to the far right of a single column heading, further functions become available

- Pin column - you can set the column you are on to be Far left or far right of the existing table

- Sort/Show - this feature can sort the table and only show entries that match the word typed in.

- Column changes
-
- i. This feature can be used to change the columns in your table without having to reset the whole table by returning to the Data Fields box at the top of the page.
- ii. Select the table icon. A list of all of the available columns will be shown

- iii. Either manually search for the columns you wish to select/deselect or type the name into the search box.

- iv. The column can then be selected or deselected by moving the button to the on or off position.

-
Reports
- • Much of the above functionality is used in the Report Writer.
- • Please read Reports - Overview for more information on Reports.