![Copy of STATIC 1.png]](https://help.aptimyz.com/hs-fs/hubfs/Copy%20of%20STATIC%201.png?height=50&name=Copy%20of%20STATIC%201.png)
Deactivating Unallocated Items
- If you do not wish to use unallocated items, this can be switched off using the following steps:
a) From the Store Level, select Setup
b) Select POS
c) Select 'No' from the dropdown option 'Enable the unallocated items option in POS
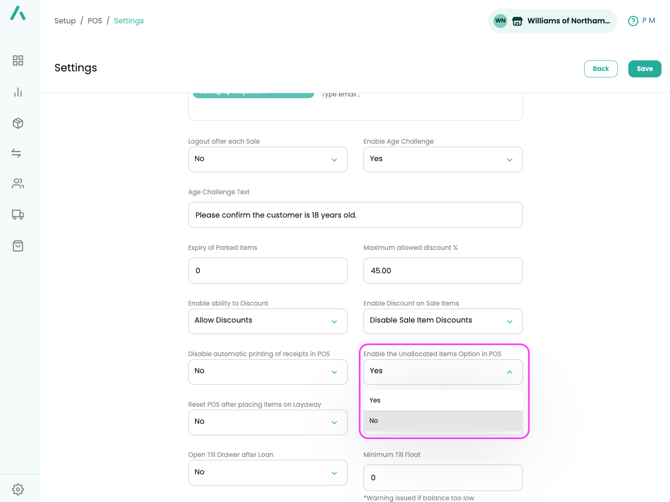
2. Once this has been switched off, when an unknown items is scanned at the till, a message will appear 'Stock barcode not found, please retry'
3. Therefore staff will be unable to add any unallocated items to the inventory and avoid entering wrong or incomplete information
If the option is selected as 'Yes', when an item not added within the inventory is scanned at the POS, the staff member will be prompted with a box to add the item as 'Unallocated'

- Once this has box has been completed, the product will be added to the inventory with no quantity, no cost price, supplier or brand
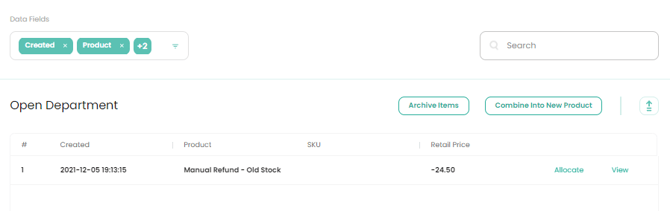
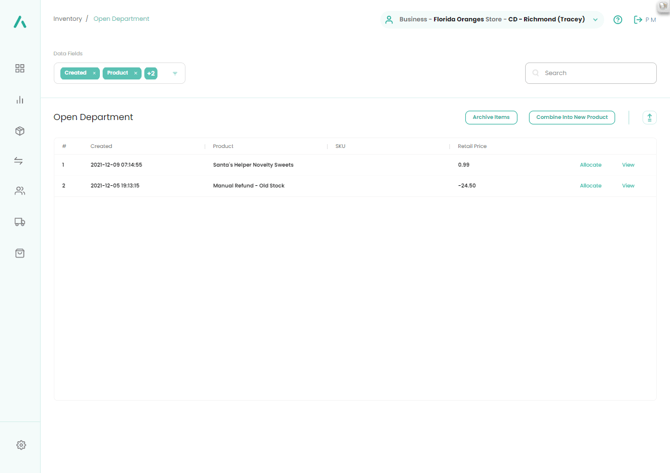
Unallocated – Back Office
• In order to maintain accurate stock records, one of the tasks to be completed regularly is the Unallocated reconciliation.
From the main menu:
-
Select Inventory
-
Select Unallocated
-
Following the cues on the screen either select Allocate or View.
• Note: Each of the unidentified scanned products can either be directly allocated to existing products, or you can use the collected details to pre-fill a New Product.
• Before adding new products, it is worthwhile clicking on the Allocate button, alongside each Unallocated product line then Search for a similar product.
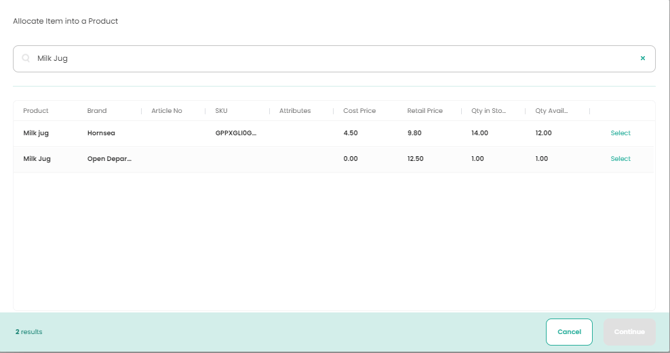
Allocate (assign the Unallocated product to an existing product)
This process will perform the following functions
a) For standard stocked items, it will reduce the stock quantity by the quantity sold in the unallocated itemb) For non-stock items, there will be no change in stock levels, as non-stock items do not hold a stock quantity
c) The sale will be attached to the correct product in the reports
d) The unallocated item will be removed from the Inventory > Unallocated Items list
- Select Inventory
- Select Unallocated
- Identify the product to Allocate to an existing product
- Select Allocate
- Search for a similar product
• In the standard search screen returned, key in identifying product details and, if the product is already in the system, you can allocate the unallocated sale directly to the correct product via Select.
6. Select the product you wish to assign the Unallocated item to.
7. Continue
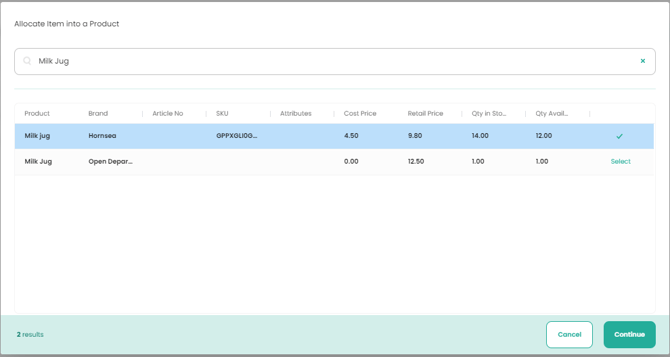
8. The Unallocated page will remove the assigned product and display the rest of the list
View
- If the product cannot be found via Search > Allocate, then select the item to add by clicking on Edit.
- This will allow you to update the single line, remove the item from Unallocated into your main Product file and create a new product.
- The Unallocated product will have been saved to the system with several default values: Category, Supplier and Brand all set to Unallocated (or your store default Unallocated entries in the setup file).
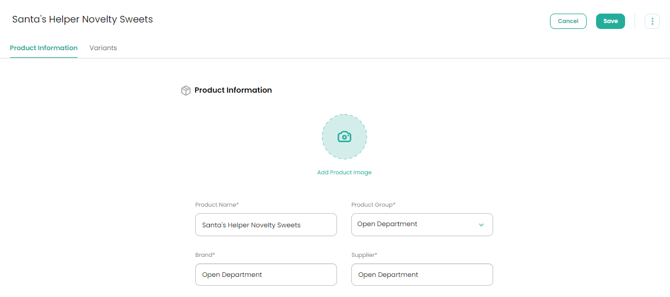
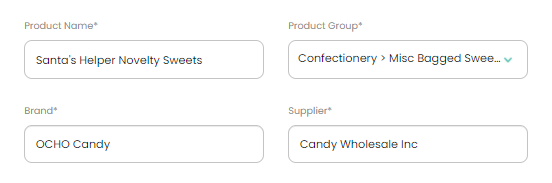
- Fill in the Product Group, Supplier and Brand fields with the correct details from the dropdown menus.
- The product will have saved a standard Tax rate, a retail price and the scanned barcode (SKU) from the original order.
- Click on the Variants tab and fill in the Stock Quantity and re-order values (if required)
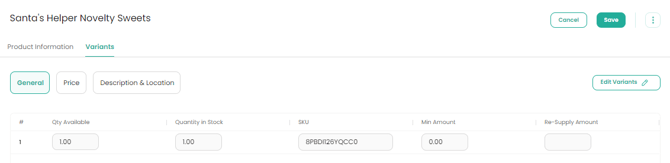
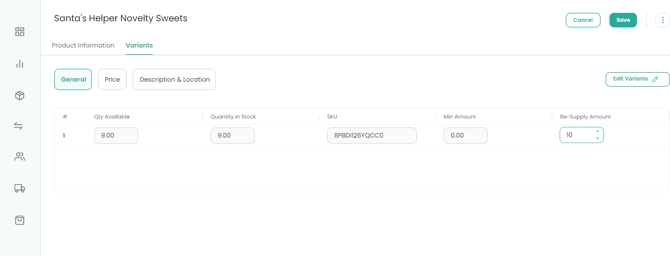
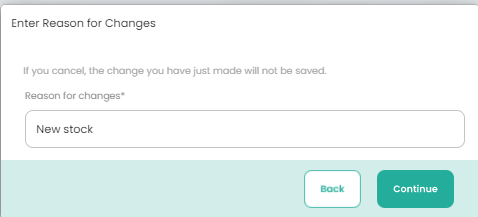
- When you change stock values, the system will ask for a Reason for Change
- Add any further Cost and Retail price details
- Save
- Return to the Unallocated products display and check any final entries.