![Copy of STATIC 1.png]](https://help.aptimyz.com/hs-fs/hubfs/Copy%20of%20STATIC%201.png?height=50&name=Copy%20of%20STATIC%201.png)
The Aptimyz Purchases module can create Purchase orders from:
• Low Stock – automatically adds low stock items to the Purchases list
• Inventory – stock items can be searched for and added to a purchase order
- Create a Purchase Order from min/max quantities
- How to add received orders to your inventory
- Create a Purchase Order without min/max quantities
To create a purchase order using min/max quantities
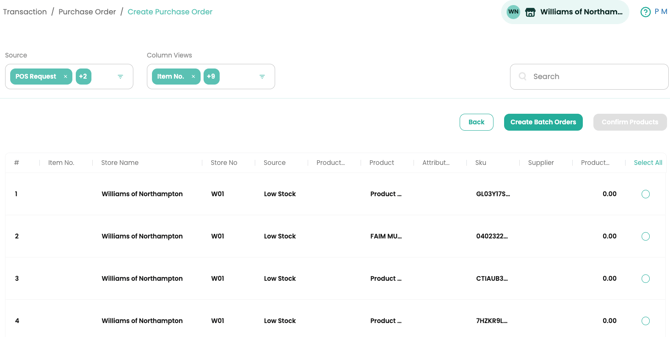
- From the menu screen, select Transactions > Purchases > Create Purchase Order
- Items that have reached the minimum stock quantity (see min/max help page), will appear here ready to be sent to the suppliers for ordering
3. From here you are able to 'Select All' or select which items you would like to re order
4. Once selected > Confirm Products
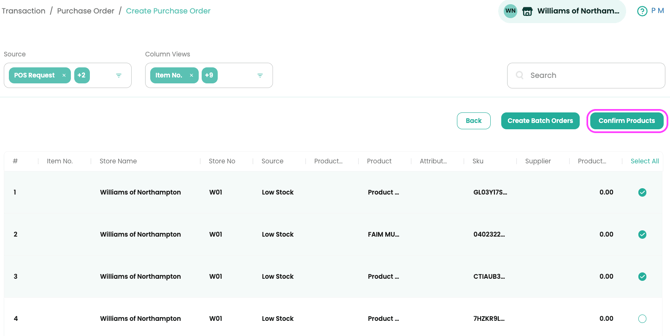
5. Enter the amount of each item that you would like to add to the order then select Create Order
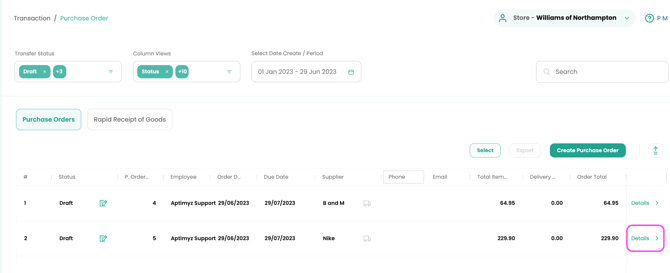
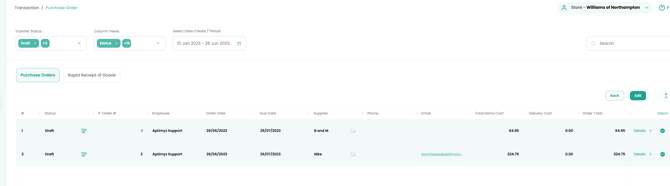
6. Go back to the menu screen and select Transactions > Purchases where this will display the order total to each supplier
7. Select Details
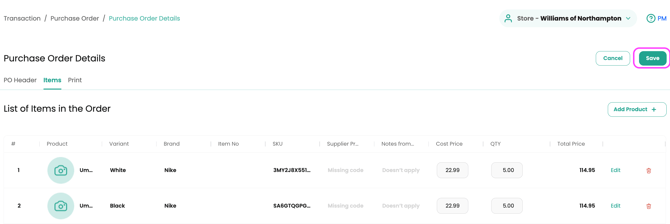
8. From here you can change the delivery due date, add notes in for the supplier, view a breakdown of the items and the total costs
Please note - If you see items missing from your order, these would have been removed due to missing information. Check back to see that Cost Price and other necessary information is recorded against the item
9. Save
10. Select
11. Select which orders to send
12. Select Edit
13. Select orders again
14. Select Process
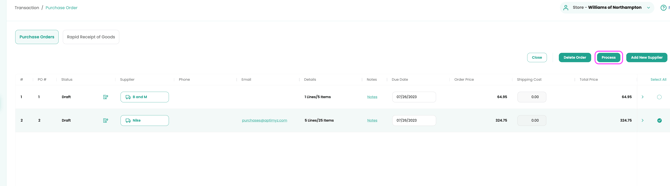
15. Proceed
16. Your order has now been emailed through to the supplier
The next steps will show you how to check-in items once you have received your order from the supplier
1. When your order arrives, go to the main menu screen Transactions > Purchases
2. Rapid Receipt of Goods
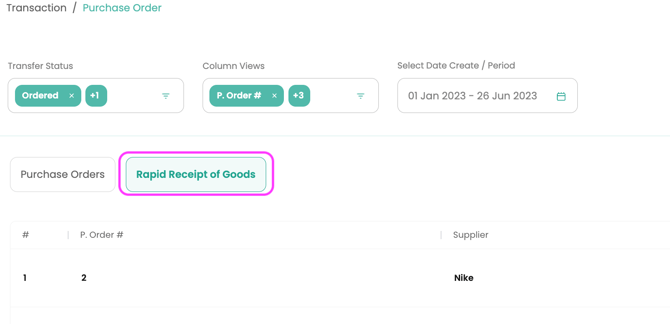
3. View
4. From here you can enter the amount delivered then commit
or
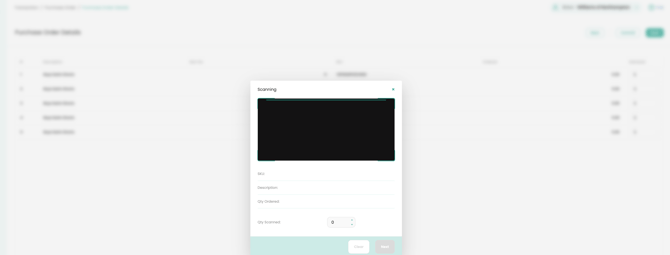
scan each item in
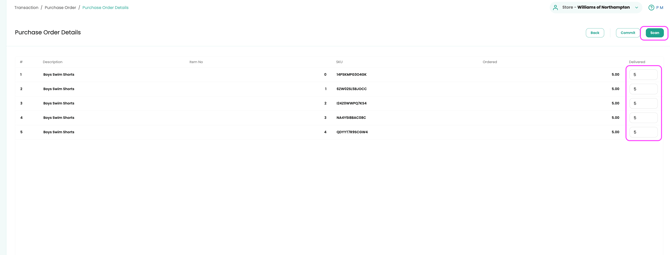
The quantities have now been updated within your inventory
If you do not use min/max within your store, please follow these steps:
1. From the main menu Transactions > Purchases > Create Purchase Order
2. Select the Source drop down box and turn on From Inventory

3. All of your store's inventory items will appear for you to Search and select which items you would like to add to the purchase order
4. Once selected, you can continue the purchase order as normal
This is the end of this article