![Copy of STATIC 1.png]](https://help.aptimyz.com/hs-fs/hubfs/Copy%20of%20STATIC%201.png?height=50&name=Copy%20of%20STATIC%201.png)
-
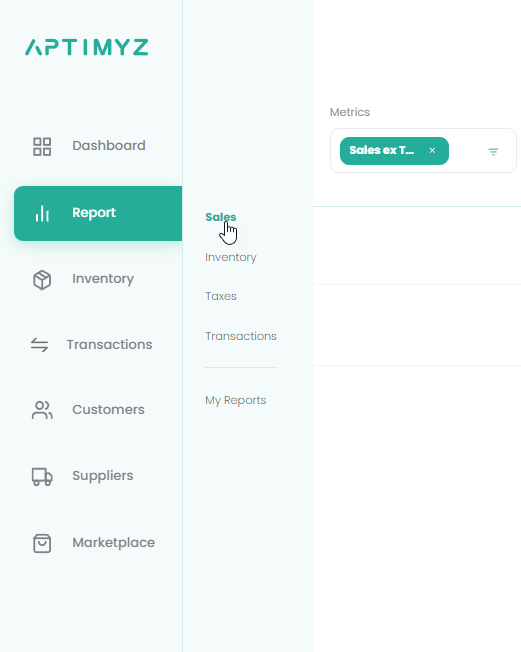
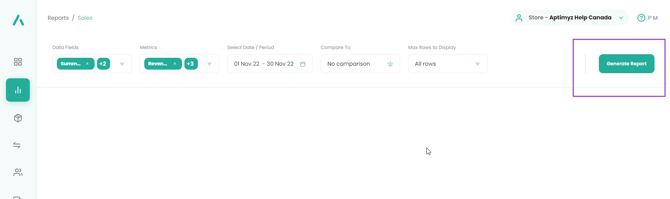
From the Main Menu, select Report > Sales
-
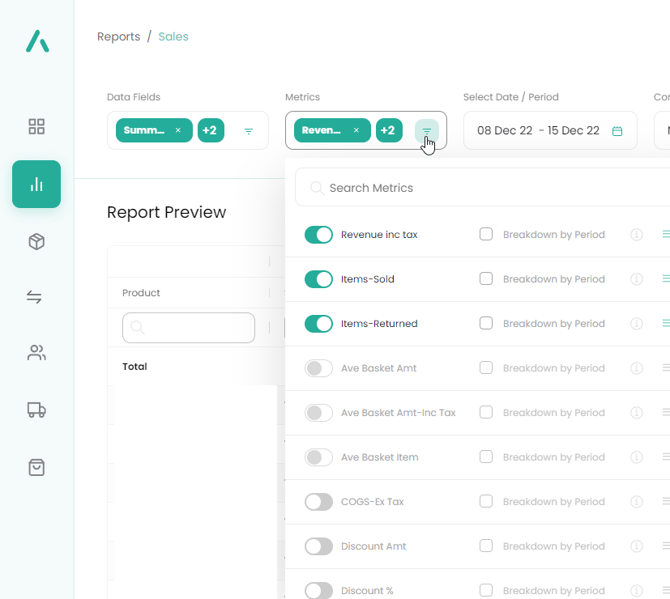
Using the arrow in Data Fields, search the list of fields and Select them using the button.
-
The position of the Data Fields can be changed by setting your mouse over the 3 bars to the right of the field name and dragging it to the required position

-
Repeat the selection for the Metrics fields
-
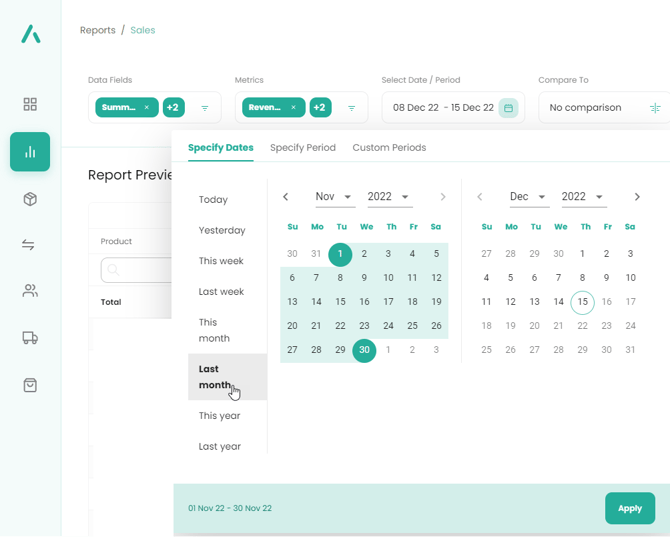
The date selector has a useful list of predefined date ranges, but any range can be manually added by clicking on the start date and end date, then Apply
-
When all the fields have been selected - Generate Report
-
The report can be viewed and modified.
-
If necessary, modifications can be made to the report before saving.
a) Add extra fields,
b) Change the positions of the columns
c) Sort a column (click on the Column header/Date field fo the column you need sorting)
d) Only show certain lines (use the search box at the top of each column to search for a particular entry/series of entries)
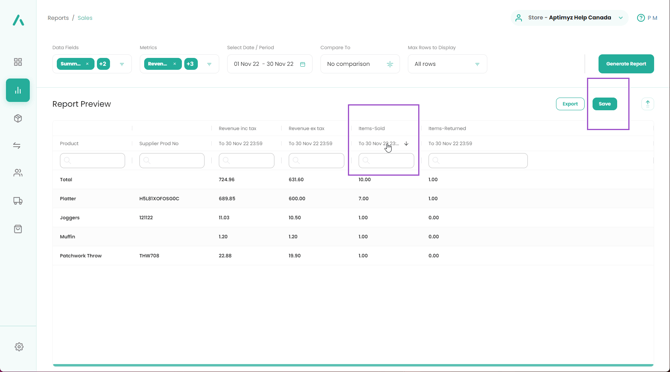
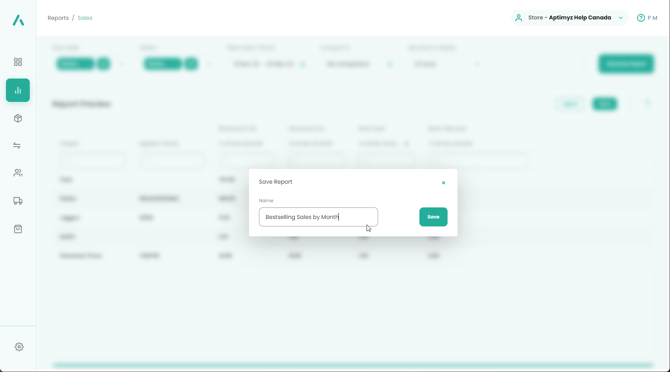
9. When all modifications have been made, select Save 10.Name the report and select Save
10. Move to My Reports, you will see a list of your own reports
11. Run the report again by pressing the green arrow
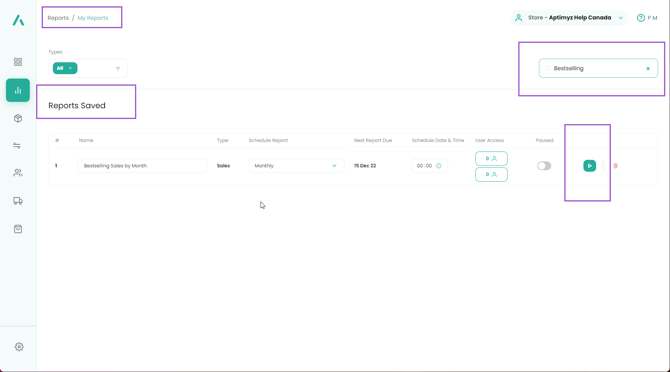
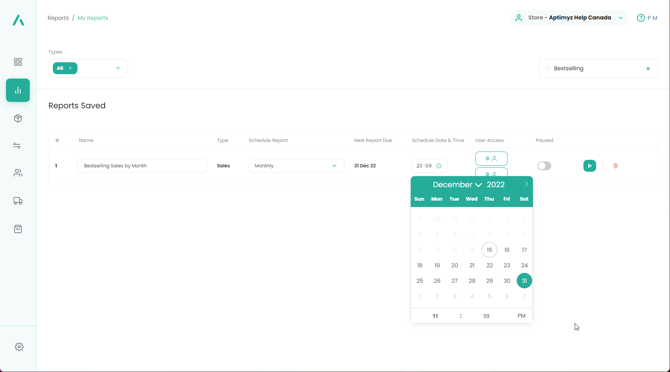
12. To set a schedule for the report to run automatically, Select the "Schedule Report" box and choose how often the report is to be run.

13. Select the Schedule Date & Time box. Select a date and time when you want the report to run automatically
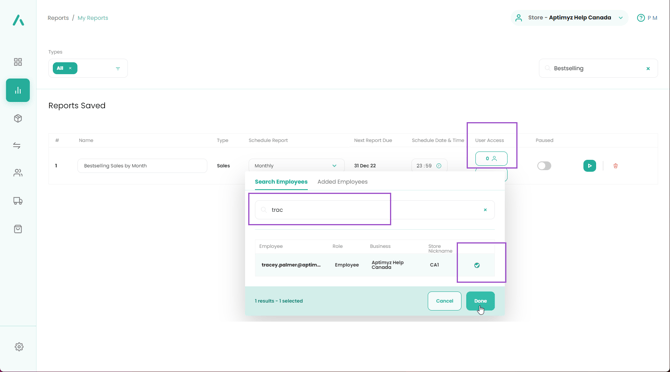
14. To send the report to other users, select User Access and either select an employee from the company to have it sent to their email address, or using the 2nd user access button, you can send it to an email address outside the business (e.g. bookkeeper/accountants, etc)